Tuesday, June 2, 2015

NEW BLOG & NEW CATALOGUE

Hello everyone and welcome to a new look me.  You may have noticed over the past few weeks my blog has been changing slowly and I've tried to be quick about it but these things take time.   Out with the old and in with he new.   I hope you like it and I would love if you left me a quick comment to tell me what you think.


I also have exciting news and that is the new Annual Stampin' Up! Catalogue is out and its so full of wonderful and gorgeous products and ideas for us to get creative with.  Keep an eye out for some new projects from me over the coming weeks.  Don't forget you can order online through my website and have your goodies shipped straight to your door anywhere in Australia.

Here are some of the Make & Takes we made using the new "I Think You're Great" stamp set at Convention in late April.  They are a bit different to my usual style but I loved them anyway.  Who doesn't love new stuff.


So stay tuned for more new projects and don't forget to leave me a short message about my new look.


Monday, January 12, 2015

Sale-a-Bration with Stampin' Up! is here again…..


Hello everyone and yes it's that time of the year when we get to celebrate all things Stampin' Up! with a  new Occasions catalogue and Sale-a-Bration.

Today I have for you a card I made in a hurry for my son's friend to celebrate his birthday.  I wanted to get into the new products from our new catalogues and here is what I came up with.


I asked my son (who is 8) if he liked it.   I was particularly worried about the glitter and sequins for a boy but Christopher loved it and said his friend would too.

This was a quick and easy card.  I've used the new "Big Day" stamp set which you can earn free during Sale-a-Bration when you purchase product to the value of $90(AUD).  I heat embossed it using Silver embossing powder on Black Cardstock, made it into a banner and presto.


I also cut out 2 arrows from red glitter paper using our arrow punch and stamped some Bermuda Bay splatters on the background with our Gorgeous Grunge Stamp Set.  Finished the card off with our new Bermuda Bay Sequins that added that final bit of bling.


Sunday, November 16, 2014

CHRISTMAS IS ON ITS WAY

Today I had a lovely group of ladies come over to make a whole bunch of Christmas Projects.  First up they completed a Stamp-a-Stack of 12 cards ready to send out to their friends and family.


We used Festival of Trees with matching Tree Punch, Lucky Stars Embossing Folder, Red Glimmer Paper Banner and Tiny Champagne Glimmer Stars made using the Confetti Stars Punch.


The next card used the Endless Wishes Stamp Set, I Love Lace Background Stamp, White Embossing Powder for the snowflakes and sentiment and finished off with a single frosted sequin fixed in place with a mini brad.  Very simple.


The last of our cards used the Lucky Stars Embossing Folder, the Finishing Touches Edgelits, Champagne Glimmer Paper and the Bright & Beautiful Stamp Set.   A funny story - I spent 2 hours searching for my Star Framelits to cut out my stars and when I had exhausted all possibilities I realised I had never bought them.  It was my Starburst Framelits I remembered seeing on the craft table not the Star Framelits.  Now you know what's on my next order.  So I ended up using my retired Star Punches to cut out the stars.


After lunch we made three gift type projects.  One using the new Gift Box Punch Board which I was not initially intending to buy but in my last order I had $50 to spend on freebies so I added it to my list and wow, I am so glad I did.  This makes making boxes even more easier.  I Love It.

I based this box on the one in the Holiday Catalogue.


Our last project was made using the Cafe Gift Bags and the Wondrous Wreath Stamp Set and matching Framelits. I also used the Cherry Cobbler Sheer Linen Ribbon for the bow and you will also see I've cut out some Glimmer paper leaves to add bling to the Wreath.  HINT -  I peeled the backing paper off the glimmer paper and then stamped the wreath onto the back to give me the shapes of leaves to cut out and attach with glue.  If you leave the backing paper on the leaves rub off :)


Enjoy your own Christmas crafting everyone.  I'll be back again soon with some more of my Christmas Creations for this year.


Friday, November 14, 2014

World Teacher's Day

A few weeks back we celebrated Teacher's Day at our school and the boys wanted me to "whip" something up for their teachers.  I don't have anything stamp wise that screamed "Teacher" except for the usual Thank You stamps so I had a look on MDS (My Digital Studio) to see what I could find.  

I was blown away with all the things I found.  I did a global search of "Teacher" "Apple" "School" etc and I found heaps of things to play with.  I turned them all into this fantastic little gift tag which I was able to print out onto our Very Vanilla Cardstock and add to the Window Gift Boxes with some of our fancy ribbons from the Christmas Catalogue.  Each box holds 9 chocolates perfectly.


Its amazing how you can add shadows, colour elements, enlarge, rotate, manipulate and basically have a tonne of fun with this program.  I loved making these and once I had made one I could easily just print off three so quickly.


The teachers loved them too.


If you'd like to have a play with the MDS program, you can head on over to my online store and download a free trial today.  There is heaps of free stuff included for you to try out so why not have a go.


Sunday, July 27, 2014

Bloom with Hope

I would have to say this is probably my favourite Hostess Set from Stampin' Up!  Bloom with Hope.  I love colouring images and this set gives you the ability to play with our Aqua Pen, Blender Pen, Stampin' Write Markers and now our new Blendabilities.  Here are the cards we made on Friday night at my class.


For this card I used an Aqua Pen to colour the flowers with Blackberry Bliss, Crumb Cake for the Hardwood image and Mossy Meadow for the stems.  I stamped the image on a separate piece of Whisper White card stock and then cut them out to give a bit of dimension.


For this card I used Blackberry Bliss to stamp the flower image and then I coloured the centres with the Hello Honey Stampin' Write Marker.  I also used the new Satin Stitched In-colour ribbon which I love. A simple layout but quite effective.


I also used the ribbon punch to add a little scalloped trim to the top.  I didn't want it to stand out too much so used the Blackberry Bliss.


For this card I used a Blender Pen with Real Red to colour in this magnificent flower.  Gorgeous Grunge Stamp Set added a splash of Hello Honey (stamped off) to the background and a few rhinestones to add some bling.  White Bakers Twine wrapped around adds a little bit more dimension.


Again I cut the flower out and mounted it on dimensionals.  I enjoyed making this one.  Lots of colour.


This stamp set is exclusive to hostesses so if your purchases total $300 or more then it's yours.  All products can be purchased from my online store and shipped straight to your door.


Saturday, May 31, 2014

Melbourne Convention 2014 - Inspire Create Share Event

I had an absolute ball at Convention this year with 5 of my team members and my Mum.  The fun started at Leadership on Wednesday afternoon hanging out with other demos who I've met over the years at Stampin' Up! events and have gotten to know through Facebook and Stampin' Connection.


That night we were all treated to a magnificent evening at the Myer Murall Hall, built in the 1930 by Sidney Myer to commemorate and celebrate Women and all their endeavours.  Very fitting for a Managers' Reception don't you think.

We received a beautiful gift box which contained a lace scarf and a new background Stamp that looks like lace.


 Here are all the Leaders lined up on the staircase.  Can you see me in the front right hand side :)
We had Sarah Douglass join us for the first time this year and I just had to get a photo with her.  She is such a lovely, genuine lady.  We spoke about our families, holidays, Stamping (of course) and how she was loving Australia.


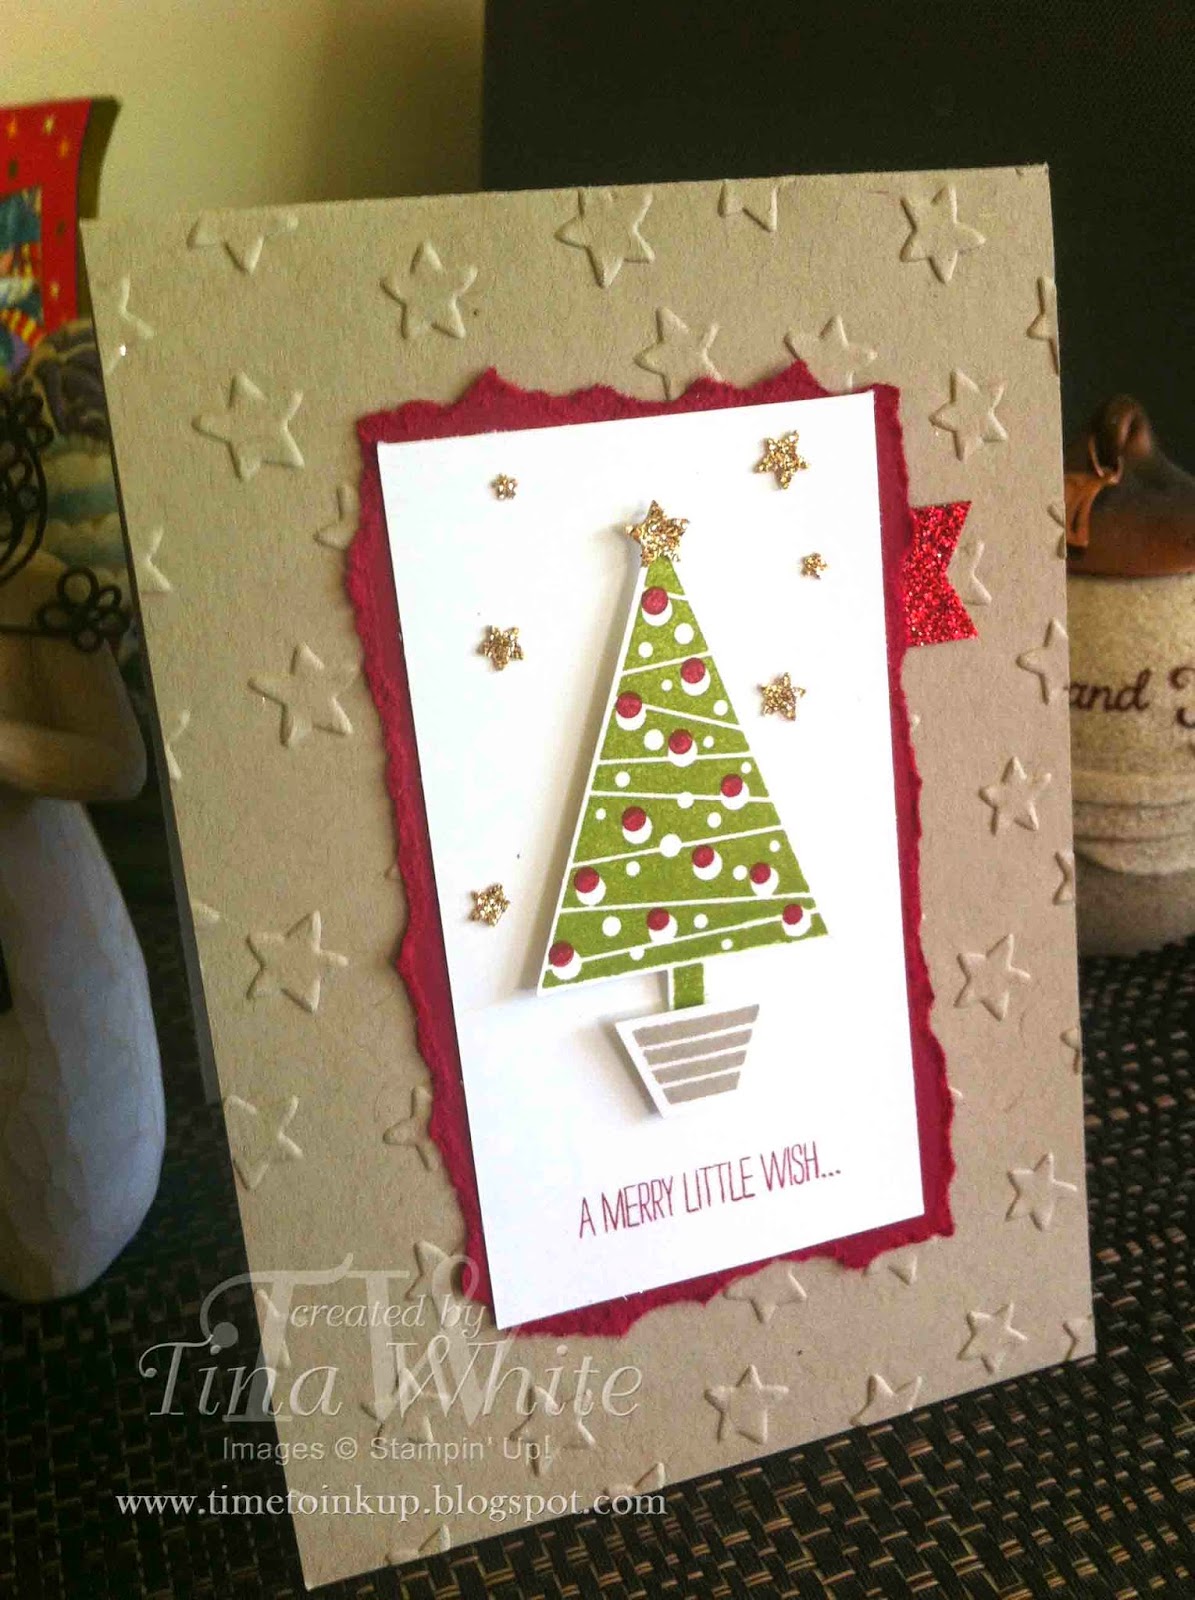
Here was my swap.  I only had a chance to make 25 this year but I received lots of great ideas in return.


 First General Session


Workshop Make-and-Take was fantastic.  First time I actually finished one at Convention LOL.

 Sneak Peek!!

Demonstrator Booth Projects.  Amazing Stuff.


Awards Evening and After Party was a hoot.


 Bjorn Again were fantastic.  Pumping out those Abba tunes all night.


 That's me and my friend Amity dancing the night away.  Don't you love Selfies…..

 Aaron showing off his moves with two of his friends.
Brian Pilling looking hot in his Pumpkin Pie Suit.

Can't wait till next year now.  Gold Coast, here we come.

You might also like:

Related Posts Plugin for WordPress, Blogger...